 You’ve just completed the famous 5 Minute Installation of WordPressor one-click install from your web host without stress or fuss. WordPress is packed with many amazing features, so now what?
Let’s take a step-by-step tour through your WordPress site and learn about how all the different functions work and how to make your new site your own.
During the first part of this tutorial, we ask that you don’t change anything within the program unless it is part of the tutorial. Just follow these simple steps and soon you will be changing everything.
Logging In
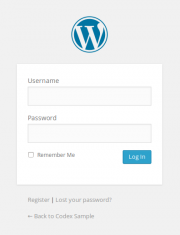
Begin by logging into the “administration area” or the back endof your website. Visit your site’s login page by placing “wp-admin” after your domain name (e.g.http://example.com/wp-admin). Somethemes provide a “log in” link or form on the front end as well. Now log into WordPress using your username and password.
Starting from the Top
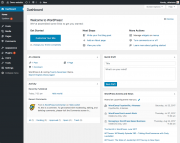
After logging in you are on the mainAdministration Screen called theDashboard. This is the brain behind your website, the place where you can let your creativity explode, writing brilliant prose and designing the best and most lovely website possible. This is where the organization of your site begins – and this is just the start.
At the top of the screen in the area called the “toolbar.” Click on the link that is your site name. This will take you to a view of your new WordPress site. Like it? Don’t like it? Doesn’t matter, just look at it. This is where you are going to be spending a lot of time over the next few minutes, hours, weeks, months….
Για περισσότερα: http://codex.wordpress.org/First_Steps_With_WordPress


Δεν υπάρχουν σχόλια:
Δημοσίευση σχολίου